Introduction
Thinking about improving comfort, protecting your roof, and keeping your cooling system from working overtime? A well-planned attic fan can make a measurable difference in California homes from coastal fog belts to inland valleys. This pricing guide explains the many factors that influence the overall investment for an attic fan project in California so you can make informed decisions with confidence. While no two homes are identical, the same core themes show up again and again: climate zone, attic size, roof design, fan type, and installation complexity. If you decide to bring in a professional, it helps to understand the process, the materials, and the features that justify the numbers you’ll see on proposals for attic fan installation.
Throughout this guide, you will find plain-language explanations and practical checklists that help you evaluate choices without guessing. You will not see dollar figures here—every community, roof structure, and attic condition is different—but you will learn how to compare options on more than just a single line item. The goal is to equip you to ask sharper questions, prevent scope gaps, and arrive at an outcome that performs as well in August heat as it does during January rain.
Why Attic Ventilation Matters in California
California’s diverse microclimates create a wide range of attic conditions. In inland areas, summer attic temperatures can soar, increasing heat transfer into living spaces and driving up cooling demand. Along the coast, persistent moisture and daily temperature swings can allow condensation to linger, causing premature wear to roofing materials and insulation. A properly sized and well-installed attic fan—paired with adequate intake vents—helps move superheated or humid air out of the attic, moderating temperature and humidity, and protecting building materials.
Beyond comfort and building health, balanced ventilation reduces the burden on air conditioners and extends the life of roofing systems. It also helps maintain more stable indoor temperatures, which can improve the performance of insulation and air sealing upgrades. Because conditions vary block to block, a careful assessment of your home’s construction and surroundings is essential before choosing equipment or committing to a scope.
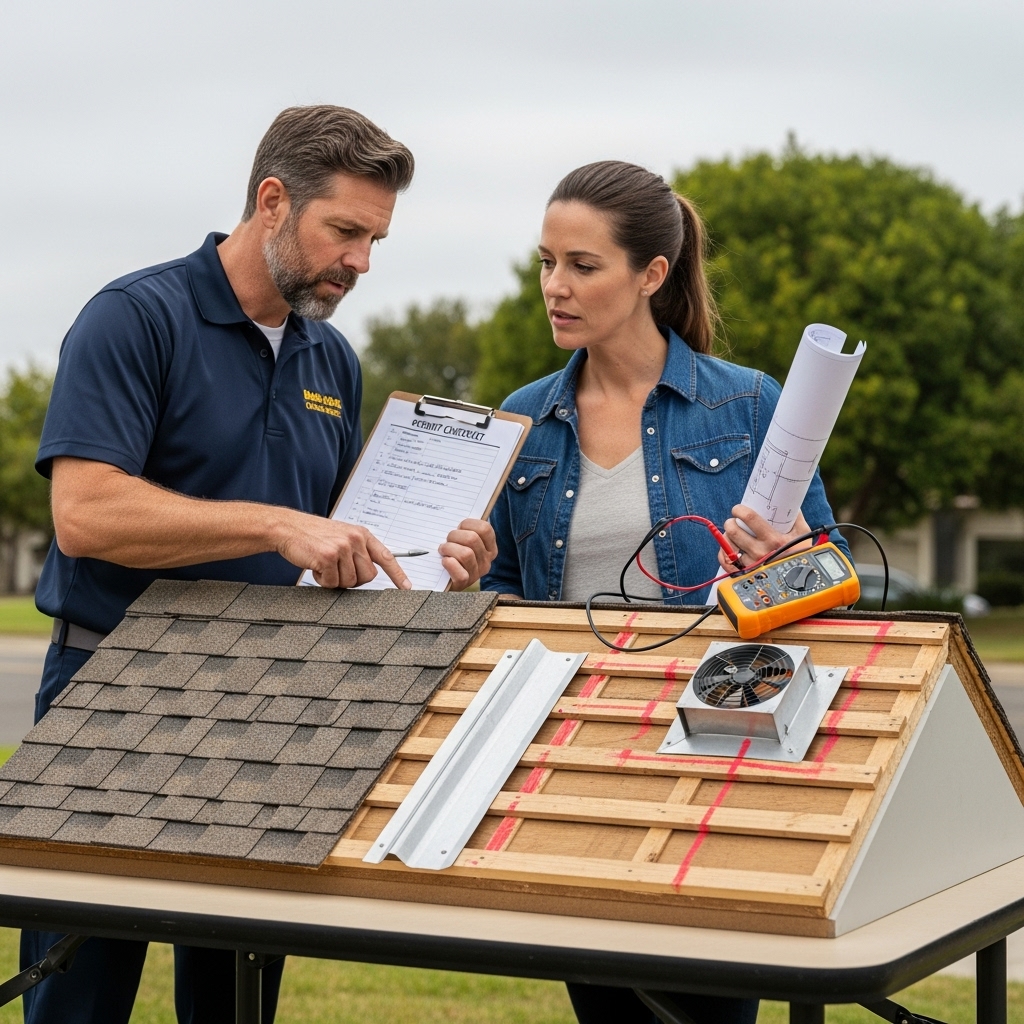
Key Factors That Influence the Total Project Investment
Every attic fan project is a combination of equipment, labor, and site conditions. The following items typically influence your overall outlay:
- Attic Size and Volume: Larger attics require greater airflow capacity. This can mean multiple fans, a higher-capacity unit, or improved intake venting to avoid negative pressure.
- Roof Type and Slope: Steeper or complex roofs (hips, valleys, dormers) can increase preparation time and flashing needs. Tile, slate, and metal roofing require different installation techniques than asphalt shingle roofs.
- Access and Safety: Tight access, low clearances, obstructed pathways, or extensive insulation can extend the time needed for safe, clean installation.
- Power Source: Solar-powered fans reduce wiring needs but require ideal panel positioning. Hardwired units need electrical runs and code-compliant connections.
- Controls and Features: Thermostats, humidistats, adjustable speed settings, fire safety cutoffs, and smart monitoring add capability and labor.
- Ventilation Balance: Adequate intake at the soffits or eaves is critical. If intake is insufficient, additional vents may be necessary to achieve the right balance and performance.
- Weatherproofing: Quality flashing, underlayment integration, sealants, and fasteners suited to California sun and rain improve durability.
- Permitting and Inspection: Some jurisdictions require permits and inspections, particularly when electrical work or roof penetrations are involved.
- Removal and Repairs: Replacing an older fan, addressing damaged decking, or correcting prior roof penetrations can change the scope.
Climate Zone Considerations
California’s energy and building codes reference different climate zones with varying temperatures, humidity, and solar exposure. Inland deserts demand higher airflow, whereas marine environments need careful attention to moisture control and corrosion resistance. High-altitude and wildfire-prone areas may impose additional requirements on roofing assemblies and venting products. When evaluating proposals, ensure the recommended fan capacity and materials align with your microclimate—not just generic assumptions.
Choosing the Right Fan Type
Different fan designs target different priorities. Your choice affects performance, noise, warranty expectations, and installation complexity:
- Roof-Mounted Fans: Installed near the ridge, these provide direct exhaust and are common across roof types with the right flashing solution.
- Gable-Mounted Fans: These mount at existing gable vents and can be easier to service without roof penetrations, provided the gable opening and structural framing are suitable.
- Solar-Powered Fans: Ideal when electrical runs are difficult or for homeowners seeking renewable operation. Panel placement and orientation are critical.
- Hardwired Fans: Offer consistent performance independent of sunlight. Require electrical planning, circuit considerations, and possibly controls at the attic or living area.
- Smart/Variable Speed Fans: Adjust airflow to conditions, helping maintain ventilation balance and reduce noise during mild periods.
Ventilation Balance: The Most Overlooked Driver of Performance
An attic fan is only as effective as the path air takes to enter and exit. Without sufficient intake at the soffits or eaves, a powerful fan can create negative pressure and pull conditioned air from the living space through leaks in the ceiling, reducing efficiency. Proper balance typically includes:
- Validated Intake: Continuous or discrete soffit vents with unobstructed pathways above insulation baffles.
- Exhaust Path: The fan location close to the attic’s hottest or most humid zones, ideally near the ridge, paired with sealed bypasses to prevent short-circuiting.
- Air Sealing: Closing gaps around ducts, chases, and fixtures prevents the fan from drawing indoor air.
- Insulation Interaction: Baffles and spacers help maintain peripheral airflow even in heavily insulated attics.
When comparing proposals, note whether intake calculations and attic sealing are part of the plan. A quote that ignores intake venting might look leaner at first glance but can underperform and shorten roof life.
Installation Complexity Scenarios
Scope varies widely. Here are common scenarios that drive timeline and effort:
- Straightforward Retrofit: Single-story asphalt roof, clear attic access, adequate soffit vents, and close proximity to an existing power source or solar-friendly roof face.
- Moderate Complexity: Multi-level roofs, limited attic headroom, need for new intake vents, or attic obstructions like trusses and ductwork.
- High Complexity: Tile or metal roofing, steep pitches requiring enhanced fall protection, long electrical runs, complicated roof penetrations, or remediation of prior water entry points.
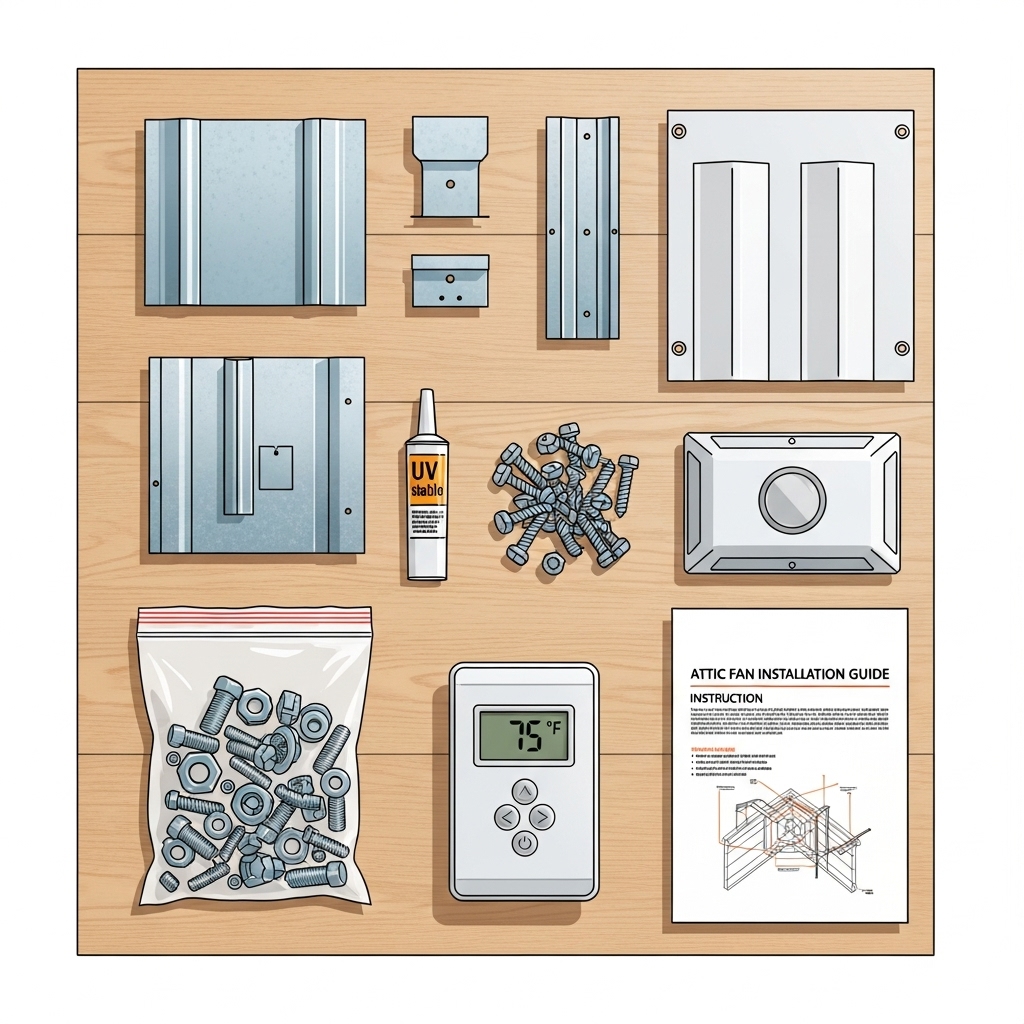
Features That Add Value
Some features add both resilience and comfort:
- Thermostat and Humidistat Controls: Automatically activate the fan based on heat and moisture thresholds.
- Fire Safety Cutoff: Shuts down the fan in case of extreme heat from a fire event, reducing spread risks.
- Brushless or Sealed Motors: Improve longevity and reduce maintenance.
- UV-Resistant Housings and Flashings: Critical in high-sun regions.
- Noise-Dampening Design: Aerodynamic blades, vibration isolation, and balanced assemblies.
Permits, Codes, and Inspections
Many California jurisdictions require permits for electrical work and for roof penetrations. Inspections confirm that wiring, overcurrent protection, and roof flashings meet local standards. Coastal areas may call for corrosion-resistant fasteners; wildfire-prone zones can require specific vent screens or ember-resistant features. Confirm whether an inspection is included in the scope and who will coordinate it.
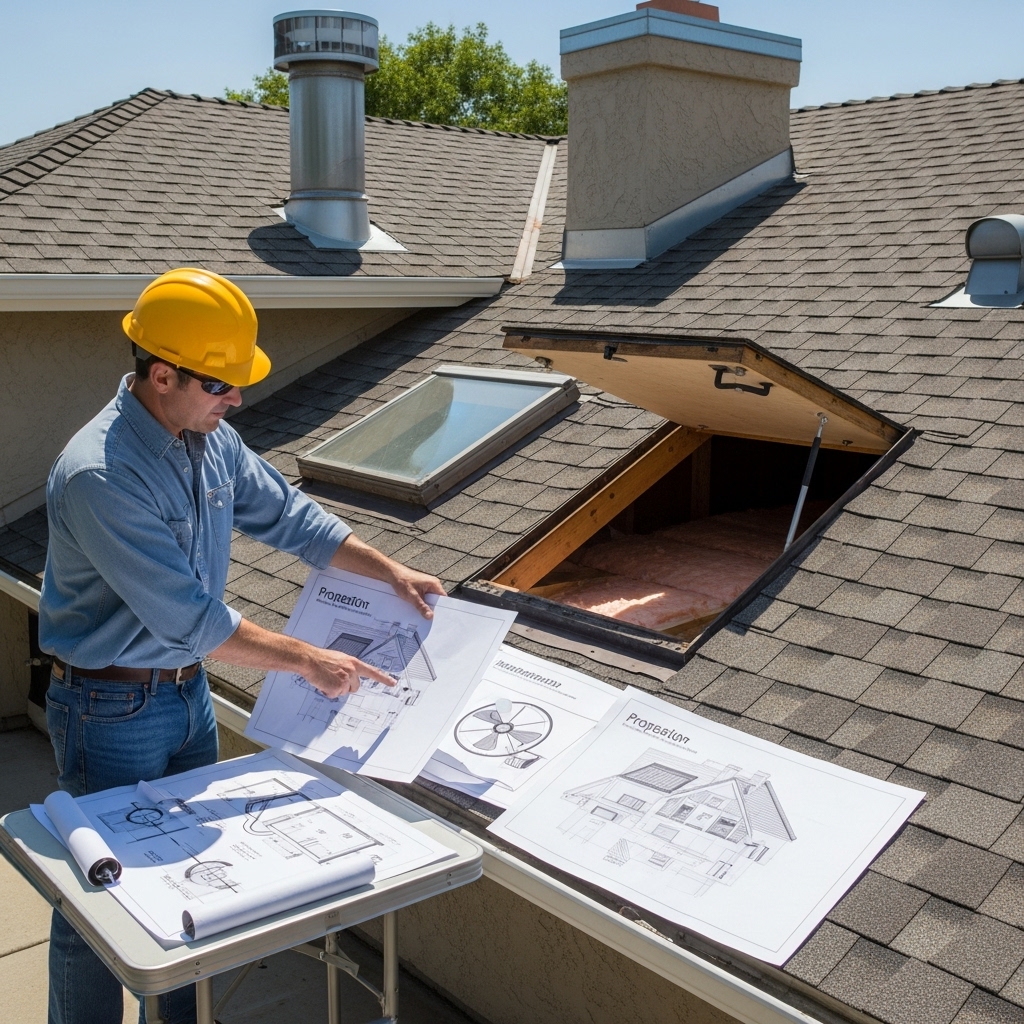
Working With Existing Roofing and Attic Conditions
Roofing materials and attic health affect the final scope. Tile roofs often require careful lifting, replacement tiles, and specialized flashing pans. Older sheathing may need reinforcement around the fan opening. If there are signs of mold, rust, or insulation displacement, these should be addressed during the installation to preserve performance and protect the building envelope.
DIY Versus Professional Installation
Handy homeowners sometimes tackle gable-mounted or straightforward roof installs. However, electrical code compliance, weatherproof flashing, fall protection, and ventilation math can turn a simple plan into a more involved project. A professional crew will typically complete the roof work, integrate controls, and confirm intake balance while minimizing disruption to finishes and insulation. If you decide to bring in a specialist for attic fan installation, ask about their process for verifying airflow balance, sealing bypasses, and documenting their weatherproofing steps.
How to Compare Proposals Beyond a Single Number
Look for specifics. A detailed scope clarifies what you are actually getting and reduces change orders:
- Ventilation Assessment: Notes on existing intake vents, target airflow, and attic volume.
- Product Details: Manufacturer, model, motor type, controls, noise rating, and materials.
- Roof Work: Flashing type, underlayment integration, sealants, and fastener specifications.
- Electrical Plan: Circuit source, protection, wire gauge, switch location, and labeling.
- Weatherproofing and Sealing: How penetrations are treated and how attic bypasses are sealed.
- Permitting and Inspection: Who pulls permits, anticipated inspection points, and documentation provided.
- Cleanup and Protection: Measures to protect landscaping, roofing tiles, and interiors; debris removal.
Hidden or Indirect Items to Consider
Comprehensive budgeting includes looking beyond the fan and flashing:
- Attic Access Improvements: Temporary platforms or permanent flooring for safe service access.
- Insulation and Baffle Adjustments: Ensuring soffit channels remain open and insulation is not blocking airflow.
- Roof Deck Condition: Repairs around the cutout if the sheathing is weak or water-damaged.
- Duct and Vent Conflicts: Avoiding the recirculation of exhaust from bathroom or kitchen vents.
- Noise Mitigation: Isolation pads or vibration-dampening if bedrooms sit directly below the fan location.
Solar vs. Hardwired Considerations
Solar fans excel in sunny climates and reduce reliance on household circuits. They function when sunlight is available, and many include efficient motors designed for long service life. Hardwired fans offer consistent operation regardless of weather and can be paired with refined control strategies. In some cases, hybrid solutions or multiple smaller fans balance performance and redundancy. Your roof orientation, shading, and electrical panel layout will steer the decision.
Maintenance and Long-Term Value
Attic fans have few moving parts, but maintenance ensures long-term performance. Basic steps include checking fasteners and seals after the first seasonal cycle, ensuring intake vents are clear, testing controls, and listening for changes in noise that may indicate debris or wear. Good maintenance preserves roof integrity and helps you realize the comfort and efficiency benefits that motivated the project in the first place.
A Step-by-Step Planning Checklist
- Document attic size, roof pitch, roofing material, and access conditions.
- Confirm intake vent availability and identify any blockages.
- Determine target performance goals: heat relief, moisture control, or both.
- Choose fan type based on power source, roof conditions, and desired controls.
- Coordinate permits and inspection requirements with your local jurisdiction.
- Decide on sealing and insulation adjustments needed for optimal performance.
- Plan for safe roof work: weather window, fall protection, and staging.
- Schedule post-installation checks and maintenance reminders.
Common Mistakes That Create Follow-Up Work
- Insufficient Intake: Installing a powerful fan without confirmed intake creates negative pressure and can pull conditioned air from the home.
- Poor Flashing Integration: Relying solely on sealant without proper flashing increases the chance of leaks.
- Ignoring Existing Vents: Conflicts with other exhaust systems can reduce indoor air quality and fan effectiveness.
- Undersizing for Volume: Selecting a single small fan for a large, complex attic may not meet your goals.
- Skipping Air Sealing: Leaving bypasses open undermines the energy savings and comfort you expect.
Frequently Asked Questions
How do I know if my attic needs a fan? Signs include high upstairs temperatures, AC that runs constantly on hot days, musty odors, or visible condensation and rust in the attic. An assessment that measures attic temperature and checks ventilation paths is the best starting point.
Will a fan pull conditioned air from my home? Not if the system is designed correctly. Adequate soffit intake and sealed ceiling penetrations prevent the fan from drawing indoor air. Air sealing and balanced ventilation are key.
Are solar fans strong enough for inland heat? Many are, provided they are sized appropriately and have good sun exposure. In shaded areas or complex roofs, supplemental intake or a hardwired unit may be better.
Is noise an issue? Quality fans with balanced blades and isolation mounts are quiet. Placement, attic structure, and speed controls influence perceived noise inside the home.
What about winter? In cooler months, humidity control and preventing condensation become more important. Controls can be set to run based on humidity or temperature thresholds as needed.
Do I need a permit? Many municipalities require permits for electrical work and roof penetrations. Always check local requirements and plan for inspections.
How long does installation take? Straightforward projects can be completed in a single day, while complex roofs or electrical upgrades may take longer. Coordination with inspections can also influence timing.
Can I install more than one fan? Yes. Large or segmented attics sometimes benefit from multiple units, provided the intake ventilation supports the total airflow.
Putting It All Together
The best approach to a successful project is a clear scope backed by ventilation math and careful roof detailing. When you evaluate proposals, weigh not only the equipment and schedule but also intake validation, flashing design, and inspection planning. Those elements often determine performance and longevity more than the fan specifications alone.
Talk to a Local Expert
Ready to review your attic and map out a plan tailored to your California home? Schedule a quick conversation with a trusted installer to discuss attic volume, intake balance, and roof details, and explore options that fit your goals for comfort, durability, and efficiency. For professional guidance on sizing, controls, and weatherproofing best practices, connect with specialists in attic fan installation and move forward with clarity.