Introduction
California’s abundant sunshine makes solar attic fans a natural fit for homes from San Diego to Sacramento. A well-executed installation lowers attic temperatures, supports healthier roofing assemblies, and helps HVAC systems operate more efficiently. This guide walks you through a step-by-step approach to planning and executing a solar attic fan project in California, from site selection and safety to flashing details and performance checks. If you prefer to have a specialist handle the roof work and code compliance, you can still use this overview to understand the process and ask better questions when engaging a professional for attic fan installation.
Solar fans differ from hardwired units mainly in their power source and control strategies. With the right panel placement and ventilation balance, a solar fan can move substantial air whenever the sun cooperates—often when your attic is hottest. The steps below emphasize durability, weather resistance, and safety, ensuring your project performs through both heat waves and winter storms.
Planning and Site Evaluation
Start by evaluating your roof and attic. Note the roof pitch, primary roofing material, and any complex geometry such as hips, valleys, and dormers. Identify shading from trees, chimneys, or neighboring buildings that could reduce solar panel output. Inside the attic, document clearances, trusses, and obstructions that could influence the ideal fan location. Consider how air will enter the attic—usually through soffit vents—and confirm they are unobstructed by insulation.
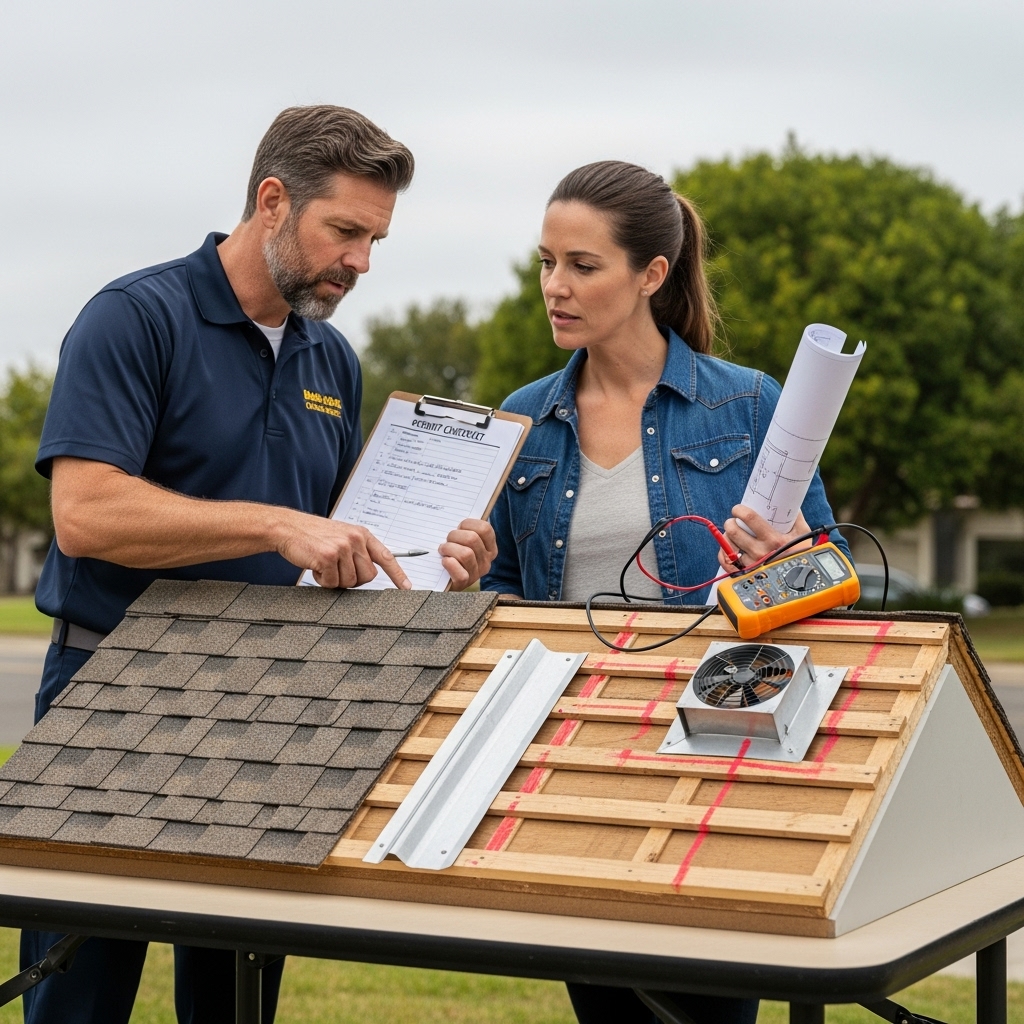
California’s microclimates matter. Inland regions require robust airflow during peak summer. Coastal zones often prioritize corrosion resistance and moisture control. In wildfire-prone areas, ember-resistant vent screens and specific roof coverings may be required. Confirm local permitting and inspection requirements—especially for roof penetrations and any electrical components that integrate with household wiring, such as optional backup power or accessory controls.
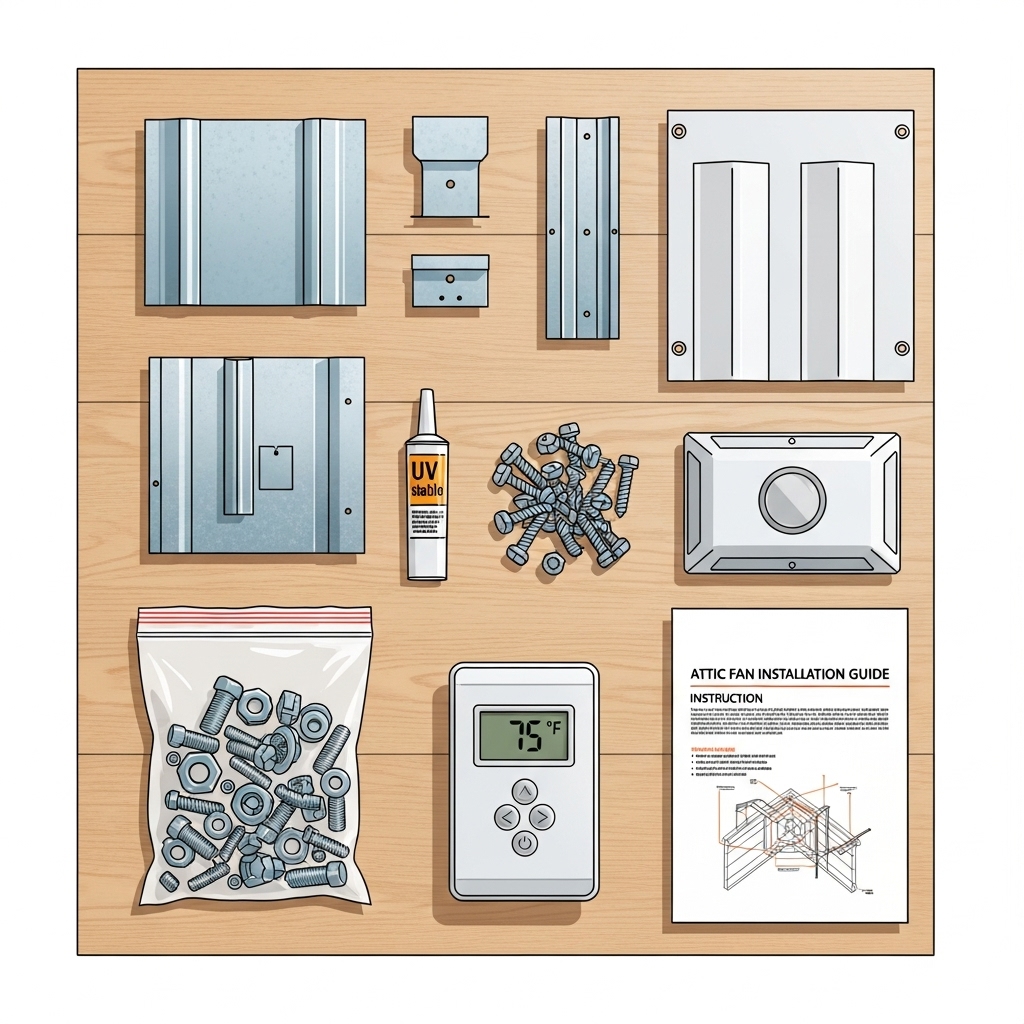
Tools and Materials Checklist
- Solar attic fan assembly with panel, housing, and mounting hardware.
- Flashing system suited to your roofing material (asphalt, tile, metal).
- Underlayment patch materials and compatible sealants.
- Fasteners approved for your roofing type and local conditions.
- Measuring tape, square, and marking tools.
- Cutting tools appropriate to decking and roofing materials.
- Drill/driver with bits and drivers for fasteners.
- Safety gear: fall protection, eye/ear protection, gloves, and stable ladders.
- Attic baffles or spacers to maintain air channels at the eaves.
- Thermostat or humidistat if your fan supports accessory controls.
Safety First
Plan roof work with weather in mind. Dry conditions, moderate temperatures, and calm winds help ensure proper adhesion of sealants and improved footing. Use fall protection and maintain a clean staging area to reduce slips. Inside the attic, watch your footing and avoid stepping between joists. If your installation involves any electrical integration beyond the self-contained solar system, follow electrical safety protocols and local codes.
Step 1: Choose the Location
Pick a spot that provides direct sun exposure for the panel and an efficient exhaust path for attic air. Near the ridge is typical, where hot air concentrates, but maintain adequate distance from other roof penetrations and obstructions. Consider the path from soffit vents to the fan to avoid short-circuiting airflow. Mark the location from inside the attic first, using a pilot hole to align with the roofing surface.
Step 2: Verify Intake and Air Sealing
Before cutting the roof, confirm that intake vents are clear and abundant. Install baffles at the eaves to maintain airflow over the insulation. Seal ceiling penetrations—around recessed lights, plumbing chases, and duct boots—so the fan exhausts attic air, not conditioned air from living spaces. This step is crucial to achieving the comfort and durability benefits you expect.
Step 3: Prepare the Roof Opening
From the exterior, remove the roofing components at the marked location per your roof type. For asphalt shingles, lift shingles carefully to create space for flashing; for tile, remove and store tiles, then access the underlayment. Cut the roof deck opening per the fan template, keeping cuts smooth and free of splinters. Clean the area of debris that could compromise the seal.
Step 4: Install Flashing and Underlayment Integration
Weatherproofing is the backbone of a lasting installation. Slide the upper portion of the flashing under the course above the cutout to use gravity and water flow to your advantage. Integrate the flashing with underlayment as required, creating shingle-style overlaps. Use sealants compatible with both the flashing and roofing materials, and only where they supplement proper mechanical overlaps—not as a substitute.
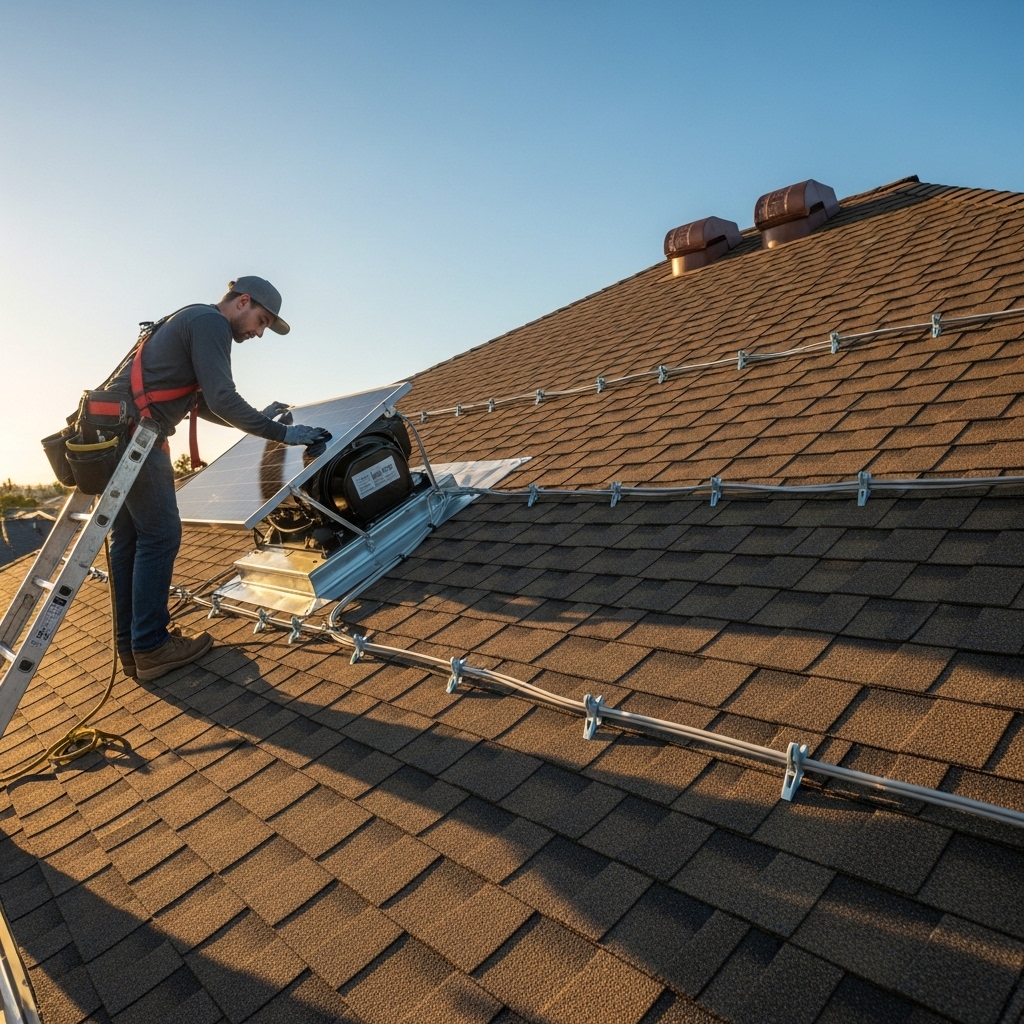
Step 5: Mount the Fan Assembly
Place the fan housing so the throat aligns with the opening and sits flat on the roof. Secure fasteners at manufacturer-specified points. For tile roofs, use replacement flashings or pans designed for tile profiles, and adjust or trim tiles as required. Reinstall roofing materials around the flashing to restore the weather barrier. Confirm that the housing and flashing remain plumb and properly seated.
Step 6: Install and Orient the Solar Panel
Mount the solar panel to capture sun across the day, typically aiming south in most of California, while considering roof pitch and seasonal sun angles. Avoid shading from nearby structures during peak hours. Secure wiring neatly with UV-resistant clips and grommets, protecting any penetrations with sealant and proper flashing or strain relief as required by the product instructions.
Step 7: Controls and Commissioning
Many solar fans include built-in temperature triggers; others offer optional thermostats or humidistats. Install controls per instructions, ensuring accessible placement for future service. Commission the system by observing fan operation in sunlight, verifying air movement at the exhaust, and confirming that soffit intakes are drawing air rather than pulling from the conditioned space. If your model supports speed adjustments, tune it to maintain good ventilation without unnecessary noise.
Step 8: Post-Installation Checks
Inside the attic, look for daylight around the opening to confirm a tight fit, then verify that any electrical connections are tidy and protected. Outside, check all fasteners, shingles, tiles, and sealant beads. Spray testing is sometimes used to evaluate weatherproofing; if you do this, allow sealants to cure first and avoid forcing water up-flashing. Document the installation with photos and note the exact location for future service.
Performance Optimization
Ventilation performance depends on airflow balance. If the fan seems to work hard without lowering attic temperatures, verify that intake vents are unobstructed and that insulation baffles are intact. In some homes, a second intake path or strategic air sealing may make a noticeable difference. Likewise, check for interactions with other exhausts (bath fans, kitchen vents) and ensure they discharge outdoors, not into the attic.
Common Mistakes to Avoid
- Relying on sealant instead of proper flashing overlap.
- Undersizing for attic volume or ignoring complex roof geometry.
- Mounting the solar panel where shading reduces output during key hours.
- Skipping air sealing, which can draw conditioned air into the attic.
- Conflicts with other vents that cause recirculation or exhaust interference.
Maintenance and Seasonal Care
Solar attic fans are low-maintenance, but seasonal checks extend their life. Clear debris from around the housing and panel, verify fasteners remain snug after temperature swings, and ensure intake vents are open. Listen for changes in sound that could indicate debris contact or bearing wear. After storms or heavy winds, give the roof area a quick inspection.
When to Call a Professional
Even confident DIYers sometimes prefer help with roof penetrations, tile work, or code compliance. Specialists bring experience with flashing systems, ventilation math, and safety practices that protect your roof as much as your comfort. If you need guidance or want a turnkey solution, discuss scope, timeline, and inspection steps with a provider experienced in attic fan installation and solar integration.
Frequently Asked Questions
Do solar attic fans work on cloudy days? Output is reduced but not necessarily zero. High-efficiency panels and bright overcast conditions often provide enough power for partial operation, which can still help manage attic temperatures and humidity.
How do I size a solar attic fan? Consider attic volume, roof complexity, and available intake. Larger or multizone attics may need multiple units or a combination of fan types. A ventilation assessment is the most reliable path to proper sizing.
Can I add a battery? Most solar attic fans are designed for direct operation without batteries. Some advanced systems offer hybrid options, but added complexity should be weighed against your ventilation goals.
What about winter? Humidity control remains important in cooler months. Controls that respond to moisture help prevent condensation even when heat is not the primary concern.
Is noise a concern? Quality fans are designed for quiet operation. Proper mounting, balanced blades, and isolation from roof structure minimize sound transfer indoors.
Do I need a permit? Many areas require permits for roof penetrations and any electrical work beyond the self-contained solar system. Check with your local jurisdiction before starting.
How long does installation take? A straightforward solar fan install can often be completed in a day, but complex roofs, tile work, or multiple units may require more time.
Ready to Improve Your Attic Ventilation?
If you are ready to harness the sun for a cooler, healthier home, consider a professional assessment and installation to maximize performance and protect your roof. Discuss intake balance, panel orientation, and flashing details with experts in attic fan installation and move forward with confidence.