Introduction: Landscape lighting that works as hard as your landscape
Well-designed landscape lighting brings out the best in California yards—from drought-tolerant gardens and native plant palettes to modern patios and coastal courtyards—while keeping energy use low. The key is to plan like a designer, think like a builder, and choose products like a steward of your environment. This means layering light, controlling glare, protecting dark skies, and specifying fixtures and wiring that withstand sun, wind, salt, and irrigation. If you are seeking inspiration and practical examples, explore curated galleries of energy-efficient lights to see how beam angles, finishes, and mounting styles shape the night experience.
This guide walks through design principles, fixture selection, wiring and power strategies, controls, and maintenance. You will learn how to accent trees, guide guests along paths and stairs, and reveal textures on walls and water features—without overlighting or driving up energy use.
Lighting design fundamentals
Start with intent. Decide where you need safe navigation (paths, steps, grade changes) and where you want visual drama (trees, sculptures, masonry). Use layers: ambient glow to define spaces, task light for functional areas, and accents to draw the eye. Keep the viewer’s perspective in mind—what is visible from indoors, from the street, and from seating areas? Avoid placing exposed sources in direct sightlines. When the source is invisible and the effect is visible, the installation feels refined and effortless.
Color temperature influences mood: warm light complements wood and stone, while neutral-white boosts contrast on foliage textures. Maintain consistency by zone to prevent a patchwork look. Favor high CRI where you want accurate color on plantings and materials.
Beam control and aiming
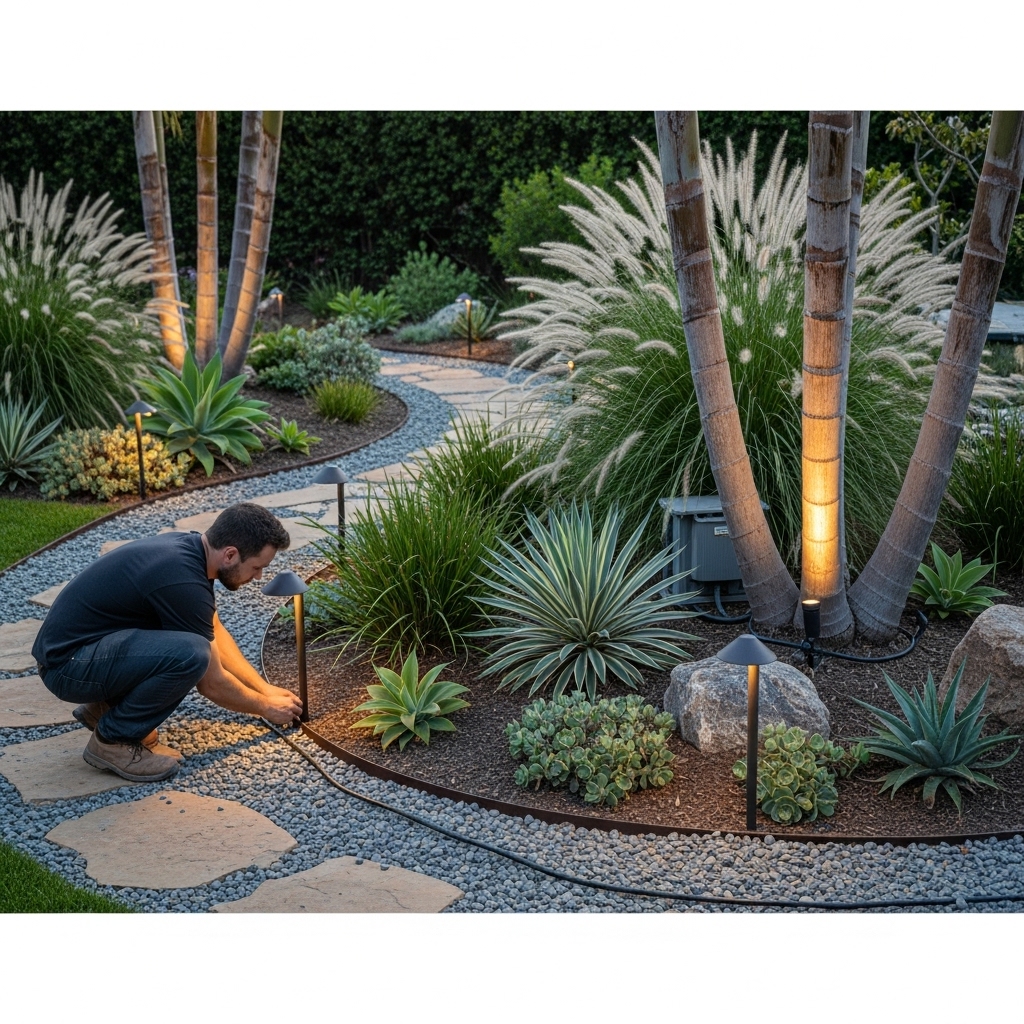
Beam spread defines how light interacts with surfaces. Narrow beams provide drama on tall trees or columns. Medium beams suit modest facades, and wide beams wash walls and broad plantings. Use eyebrow shields, cowlings, and louvers to hide the source and trim stray light. Aim uplights to graze bark and canopy without spilling into the night sky. For steps, integrate low, forward-throw optics that light treads without creating glare.
Test at night before finalizing positions. Temporary stakes and clips allow you to evaluate beam size, spill, and hotspots. Small tweaks to distance and tilt can transform the result from harsh to elegant.
Fixture types and where they excel
- Path lights: Low bollards or mushroom styles provide guidance on walkways. Select shielded designs that direct light downward and avoid glare.
- Spot and flood uplights: Accent trees, sculptures, and architectural features. Choose adjustable fixtures with a range of beam angles and glare control accessories.
- Wall washers and grazers: Reveal texture on stone, stucco, and wood. Keep sources hidden to preserve the nighttime calm.
- Step and deck lights: Prioritize safety with low, even illumination on treads and edges.
- Undercap and hardscape lights: Tuck small linear fixtures beneath caps on walls and seating for subtle, efficient glow.
- Water feature lights: Use sealed, appropriate-rated luminaires for fountains and ponds, with careful placement to avoid glare from typical viewpoints.
Power and wiring strategies
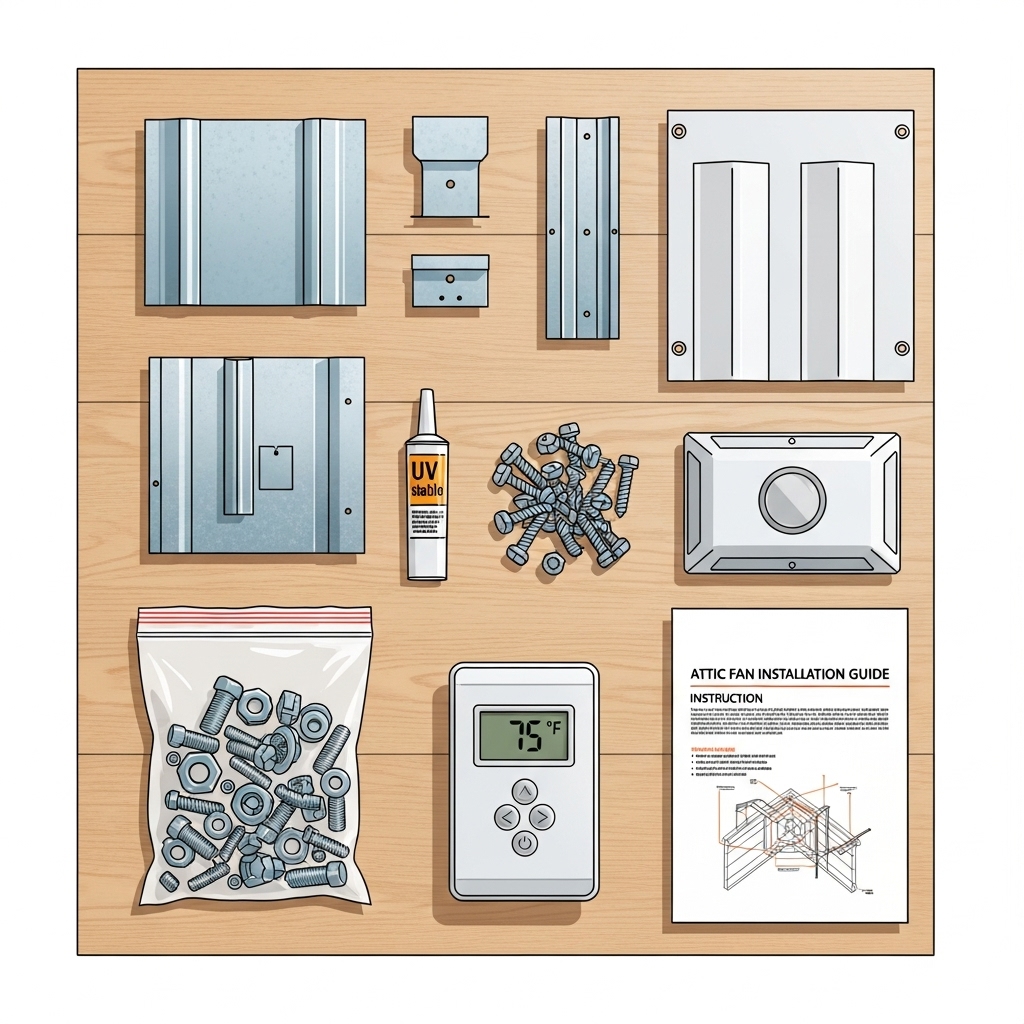
Low-voltage systems (commonly 12V) are the backbone of many landscape installations because they are flexible, efficient, and serviceable. Place the transformer where it is accessible and protected. Size it with headroom for future additions and consider multiple runs to balance load. Manage voltage drop by keeping runs short, using appropriate wire gauge, and distributing loads evenly. For line-voltage elements such as tall bollards or area lights, use proper conduit, junction boxes, and weather-rated components.
Plan wiring paths to avoid root zones and irrigation lines. Use direct-burial cable where allowed and make watertight connections with gel-filled or heat-shrink methods. Label connections and keep an as-built diagram for maintenance.
Controls and automation
Controls transform good lighting into great lighting. Astronomical timers track sunrise and sunset, eliminating manual adjustments. Motion sensors make sense along side yards and service paths. Dimming enables layered scenes for entertaining, quiet evenings, or security. Integrate zones so you can run egress lights at a steady level while accent zones dim later at night. Smart platforms enable vacation modes and integrate with other devices for a holistic approach to home automation.
California-specific durability and environment
Coastal fog, inland heat, mountain cold, and wildfire safety shutoffs all shape lighting needs. Favor corrosion-resistant finishes and sealed housings near the coast. In hot inland areas, ensure drivers and LEDs are rated for elevated ambient temperatures. Keep combustible materials away from fixtures, even though LEDs run cooler. For wildlife-friendly design, aim and shield lights to minimize spill and choose warmer tones where appropriate. Dark-sky mindful strategies enhance comfort and keep the focus on your landscape rather than on bright sources.
Installation sequence that saves time
Survey and mark zones, locate transformers, and determine wire paths before trenching. Place fixtures temporarily and test at night to validate aiming. Run wiring and make connections once you are confident in positions. Backfill carefully, avoiding sharp rocks that could damage cable. Program controls, then perform a final nighttime walk-through to confirm balance and eliminate glare.
Maintenance for long life
Document transformer taps, circuit loads, and fixture models. Clean lenses periodically and check for water intrusion. Inspect plant growth; a thriving garden can block or reflect light differently over time. Keep a small kit of spare lamps or modules for key fixtures to maintain uniformity if a component fails. Thoughtful maintenance preserves energy savings and protects the beauty of your nighttime landscape.
Mid-project design check: Cohesion and comfort
As you refine fixture counts and locations, reassess the visual story from major viewpoints: front approach, backyard seating, and interior windows. Ensure color temperature, beam quality, and brightness feel coherent. If you want to compare finishes, optics, and form factors as you finalize choices, review samples of energy-efficient lights that match your architectural style, from modern to Mediterranean, so your system feels intentional and timeless.
FAQs
Question: What color temperature should I use in a residential landscape? Answer: Warm to neutral-white often feels most comfortable. Keep color consistent by zone and use higher CRI where material authenticity matters, such as on stone and wood.
Question: How many path lights should I install? Answer: It depends on path length, width, and desired rhythm. Staggering lights and using shielded optics typically creates better guidance than placing fixtures at equal intervals like a runway.
Question: Can I mix low-voltage and line-voltage fixtures? Answer: Yes. Low-voltage is ideal for flexibility and accents, while line-voltage can support taller or higher-output elements. Keep circuits and controls organized.
Question: How do I avoid glare? Answer: Hide sources from common viewpoints, use shielding accessories, and test at night to fine-tune aiming and distance.
Question: Do LEDs work around water features? Answer: Yes, with fixtures specifically rated for the environment. Ensure seals are intact and place lights to avoid direct view of the source from seating areas.
Question: How do I handle voltage drop? Answer: Keep runs short, upsize wire where appropriate, and distribute loads across multiple runs or transformer taps. Test after installation to confirm target brightness.
Question: What maintenance should I plan for? Answer: Routine cleaning, seal checks, vegetation management, and occasional component replacement. Keep documentation for quick troubleshooting.
Elevate your landscape after dark
Energy-smart landscape lighting can be both beautiful and resilient when you plan deliberately and install with care. Begin with intent, layer light with precision, and use controls to adapt to the rhythm of your evenings. When you are ready to translate ideas into a cohesive system, explore proven designs and components for energy-efficient lights, then finalize beam angles, finishes, and zones that complement your architecture and planting design. Your yard will glow naturally, guiding guests safely while preserving the quiet of the California night.